
H. Valters
Ethical Penetration tester / DevSecOps / IT Solution Developer / System administrator

Docker MySQL container Setup and basic configuration

As we all know, there are several database engines, and some software, website CMS or systems require a specific database engine as its structure is based on that engine. Each database engine has different pluses and minuses, for example, Google to make their search faster uses MongoDB ( or as it is called NoSQL ). Facebook for many parts also uses NoSQL databases architecture. The same is for Spotify, Shazam, and others. But at the moment my knowledge sharing will be on MySQL-based systems then this how-to will be about setting up MySQL in docker and using base commands in MySQL.
To get started, you will need a fully working Docker environment ( How to setup on Ubuntu using Ansible you can find here )
Once we have a Docker ready, let’s create a MySQL container by executing the following command in your Linux terminal
Replace mysecretpassword with something secure at least 14-20 symbols including letters, digits, and specific symbols
docker run --name mysql-server --restart=always -p 3306:3306 -v /srv/Docker/MySQL:/var/lib/mysql -e MYSQL_ROOT_PASSWORD=mysecretpassword -d mysql:latest --character-set-server=utf8mb4 --collation-server=utf8mb4_unicode_ci --default-authentication-plugin=mysql_native_passwordOnce we have created a MySQL Docker container, let’s create a new MySQL database and after that we will create a MySQL server and assign the user rights for the database.
Enter MySQL Docker server by executing the following command in your terminal, with this command, we will enter our Docker container
docker exec -it mysql-server bashOnce we are inside the MySQL Docker container we need to login to MySQL itself by executing the following command and then press enter:
mysql -u root -pThe MySQL will ask for the root password

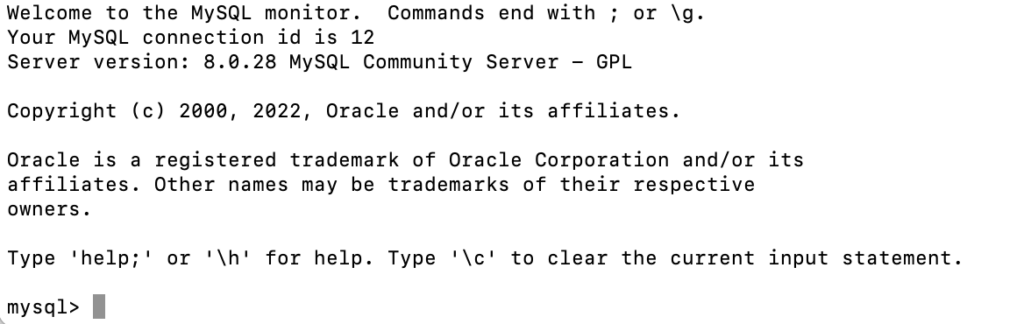
Once we have entered our secret password and pressed enter we should see something like in picture below, if you see it then that means, that you have successfully logged in to the MySQL server.
Let’s create a new database by executing the following command in your Linux terminal
create database test;In the above example test will be my database name after executing the command you should get an output: Query OK, 1 row affected (0.01 sec)
Now we will create a MySQL user with a Native password, as some systems still use Native passwords. My user will be called test, so if you want your user to have a different name feel free to change from test to whatever you desire. To create a MySQL user execute the following command:
CREATE USER 'test'@'%' IDENTIFIED WITH mysql_native_password BY 'your-top-secret-password';The % means, that this user can be used from any host, therefore, let’s say your server is hosted in some data center and you are on the other side of the world, you can connect to your user remotely without any issues. Once the above command is executed it should return an output: Query OK, 0 rows affected (0.12 sec)
Now we only need to allow the user to work with the database. To do that, let’s execute the following command:
GRANT ALL PRIVILEGES ON test.* TO 'test'@'%';The first test is the MySQL database, that we created, the second test is the user that we created. The * means that to all test database tables, the user test from any host can connect and work with the database ( Read, Write, Execute, and other needed rights ). Now we need only to apply the changes by executing the following command.
flush privileges;Once that is done, we can exit the MySQL by executing
quit;Exit the Docker container by executing the following command
exitAnd we are done. You can create as many MySQL Databases and users as you want.