
H. Valters
Ethical Penetration tester / DevSecOps / IT Solution Developer / System administrator

Zabbix Monitoring system on Docker

If you have several servers that you manage or several websites, you would need to know what is happening with your server resources, is server accessible, is overloaded, or if your website responding to the correct response code. With Zabbix, you can monitor many interesting things and get many metrics that I will be talking about in a different post.
A little intro on what is Zabbix?
Zabbix is an open-source monitoring software tool for diverse IT components, including networks, servers, virtual machines, and cloud services. Zabbix provides monitoring metrics, among others network utilization, CPU load, and disk space consumption, and many more. Yes, Zabbix has several competitors that offer in-house hosted solutions or on their servers. But as far as it goes many companies better decide to host an in-house monitoring solution due to security risks so that the data is not leaked to 3-party providers and used for hacking purposes. From my personal experience with several monitoring tools I always choose an in-house solution as I don’t want any other companies to have my server date, which sometimes can be sensitive information if, for example, I choose to monitor Network ( including the Docker network ), Databases and Websites. The less people know about your servers and other not public information the better it is for you. I have worked with several monitoring tools, but the ones I prefer are Zabbix as it is Flexible and Prometheus + Grafana both are excellent monitoring solutions.
Docker or on VPS?
When it comes to deciding on what system you want to host my Monitoring tool on a VPS or Docker containers, wheel I think one of the best options are on Docker, as Docker is flexible ( More info can be found here ) as on Docker environment you will not only host one thing, bet many at the same time. So in this how-to (tutorial), I will show you how to set up Zabbix monitoring on Docker.
Setup Zabbix server on Docker
We could take an easy way to step Zabbix on Docker, by Just running, my 2-years go created container ( here ), but at that time I wasn’t so experienced with Docker and that container is using 15-20% more server resources than it should. If so why I’m not removing it from Docker Hub, that container has some other advantages, that might come in handy for other DevOps or System Administrators.
I also would like to mention, for several systems, that involve your data use only official Docker images or if you want to use a 3-party image, check if the code is published in Github or Gitlab and if it is then check the code for some 3-party outside connections and build it locally on your device. In this tutorial (how-to) we will be using Zabbix official images.
If you don’t have Docker installed, then you can use this tutorial that is made with Ansible. So let’s open our Linux terminal and execute the following commands.
- We will need a MySQL server, where all our Zabbix data will be stored. To set up a MySQL server for Zabbix execute this command into your Linux terminal ( Replace test with a secure password ). Yes this will not be the securest way to do it as Zabbix will be using MySQL root user, but if you want, you can connect to the MySQL container and create a new user with a new password.
docker run --name zabbix-mysql -e MYSQL_ROOT_PASSWORD=test -d mysql2. Now that we have a MySQL server running, let’s check what is its IP by executing this command in your Linux terminal
docker inspect zabbix-mysqlIt should return you a large list of all information regarding your zabbix-mysql container, but at the bottom section, we would need “IPAddress”: “172.17.0.5”, in my case that is 172.17.0.5.
3. Now that we have our IP address we can Run a Docker container containing Zabbix Server. So in your Linux terminal execute ( Replace test with the password, that you entered for your MySQL container )
docker run --name zabbix-server-mysql --restart=always -p 10051:10051 -e DB_SERVER_HOST="172.17.0.5" -e MYSQL_USER="root" -e MYSQL_PASSWORD="test" -d zabbix/zabbix-server-mysqlNow that we have a Zabbix MySQL server running and Zabbix Server, we would need to get Zabbix Server IP and get the Frontend or as known Zabbix web server ( UI ) running. But first, we would need to get Zabbix server IP by executing this command into our Terminal
docker inspect zabbix-server-mysqlAnd again search for “IPAddress”: “172.17.0.6”, which will be at the end of the information in my case it is 172.17.0.6
4. Now let’s start web UI. Execute the following command into your Linux terminal, but before you do that change the IP addresses to the ones that you have. As you see I’m based in Riga, so my PHP Timezone is Europe/Riga, but you can change it to yours.
docker run --name zabbix-web-apache-mysql --restart=always -p 800:8080 -e DB_SERVER_HOST="172.17.0.5" -e MYSQL_USER="root" -e MYSQL_PASSWORD="test" -e ZBX_SERVER_HOST="172.17.0.6" -e PHP_TZ="Europe/Riga" -d zabbix/zabbix-web-apache-mysqlOnce we have executed that, now we have a Fully working Zabbix Server that can start collecting our data. Now in your browser open:
http://<your-server-ip>:800And it should open:
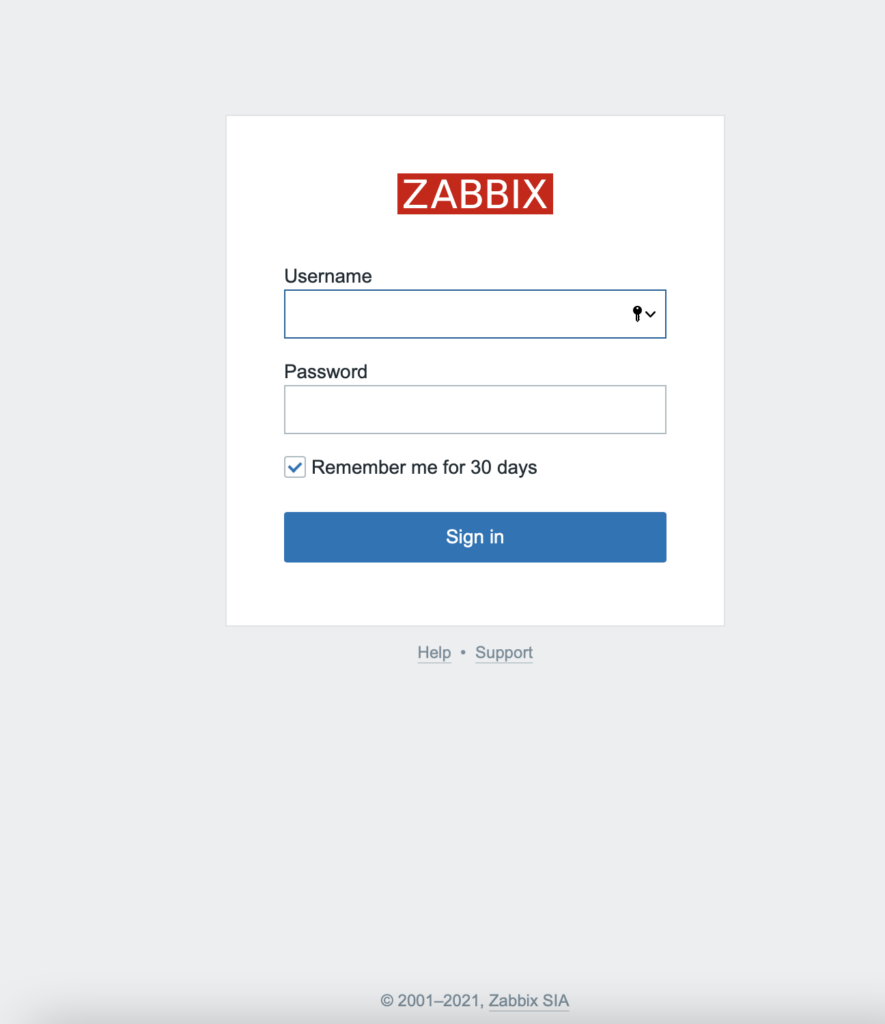
You can login using default credentials
Username: Admin
Password: zabbix
Since I have set up Nginx reverse proxy ( Instruction can be found here ) and I have a valid domain name, then I don’t want to enter 800 each time, but want to use my subdomain for it. So point your subdomain to your server IP and do the following in your Linux terminal
docker stop zabbix-web-apache-mysql ; docker rm zabbix-web-apache-mysqlNow in your Linux terminal execute the following command ( Replace zabbix.yourdomain.com with your domain or subdomain )
docker run --name zabbix-web-apache-mysql --restart=always -p 800:80 --hostname=zabbix.yourdomain.com -e DB_SERVER_HOST="172.17.0.5" -e MYSQL_USER="root" -e MYSQL_PASSWORD="test" -e PHP_TZ="Europe/Riga" -e ZBX_SERVER_HOST="172.17.0.6"-e VIRTUAL_HOST=zabbix.yourdomain.com -d zabbix/zabbix-web-apache-mysqlNow in your Linux terminal execute a command, that will put us in the Docker container
docker exec -it zabbix-web-apache-mysql bashYou should see something like so:
bash-5.1$ Now, let’s change Zabbix container ports from 8080 to 80, by doing the following inside your Linux terminal
vi /etc/apache2/httpd.confOnce you have opened the above file with your arrow key (down) find text
Listen 8080 Once you have found it move on to it and press the I button and remove 80 so that at the end there is only one entry. Once done press the ESC button and by holding down Shift button press Z 2 times. And you should be back to
bash-5.1$ And now do the same in
vi /etc/apache2/conf.d/zabbix.confOnce done type:
exitNow you should be back into your Linux server. Now do the last thing
docker stop zabbix-web-apache-mysql ; docker start zabbix-web-apache-mysqlAnd you are all set, now you can access your Zabbix web interface ( UI ) by entering your domain or subdomain in your browser
We could enable SSL also, but that would require to recreating a Docker container with a custom image, as by default the original Zabbix container SSL Apache2 modules aren’t installed
I was needing ODBC module for MySQL newest version, there fore I needed to create a bit of custom code, if you need ODBC inside Zabbix Server, then you can use this image:
docker run --name zabbix-server-mysql --restart=always -p 10051:10051 -e DB_SERVER_HOST="172.17.0.5" -e MYSQL_USER="root" -e MYSQL_PASSWORD="test" -d j90w/zabbix-server-mysql-odbc