
H. Valters
Ethical Penetration tester / DevSecOps / IT Solution Developer / System administrator

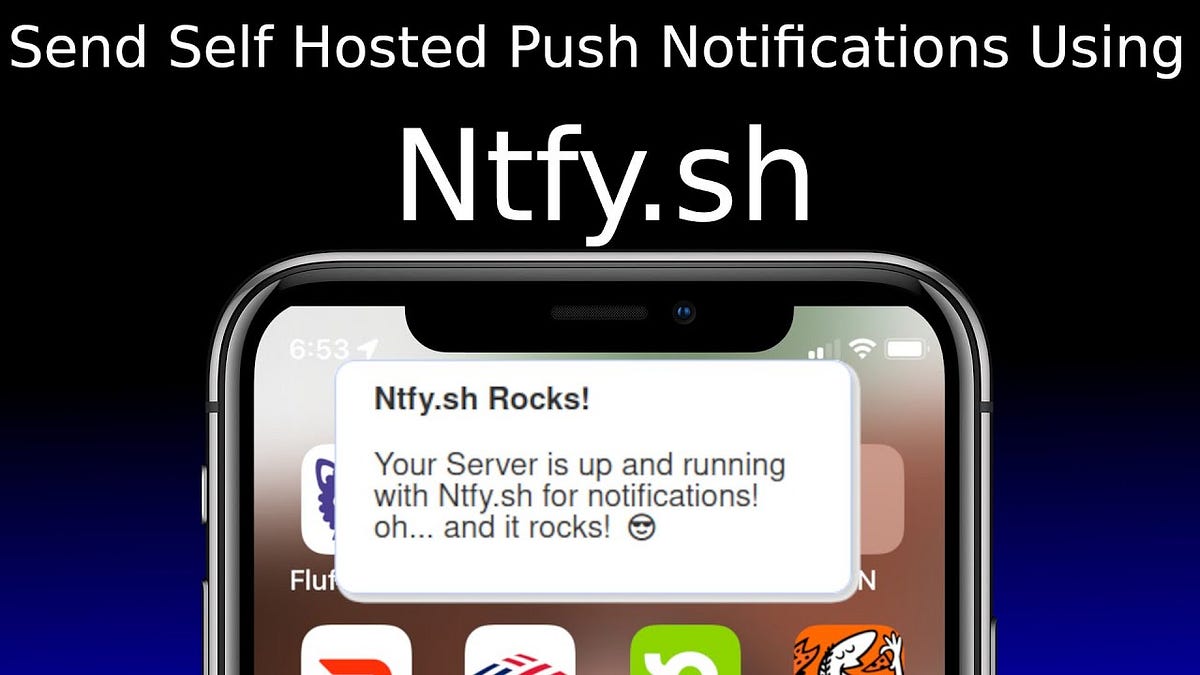
Receive notifications from your Linux/Windows to your Smartphone with NTFY
Each day I’m managing Linux servers and at the same time I’m also doing a lot of experiments and cyber security scans, that take a long time to finish. But recently I have found a solution, that will let me know once the Long-Running Cyber Security Scan, Once the Linux server has finished the upgrade or I will get a message once some backup has failed etc. Only the limitation right now is my imagination on what to use the NTFY or as I like to call it Notify. The saddest part is that I didn’t know about it earlier as it would save me a lot of time, but it is only 1 year. But yeah, I think that it is a great tool for IT experts to save time and be informed about important things, as you can add this tool to any software or terminal command and also use it on Windows servers and Windows devices.
So, let’s start installing
If you want to see YouTube instructions click >> here <<
1 Install Docker:
If you don’t have already installed Docker, then it is time, to start learning Docker and the best way to start learning it is by installing it on your Linux server by executing the following command
sudo apt-get update && sudo apt install docker.io -y With the above command, it will 1 Update the Linux repositories ( In this tutorial we are using Ubuntu, but the command will also work for Debian ) and then install Docker.
2 Create Directories and Config file
Once we have installed our Docker we would need to create a folder for NTFY that will be mounted to the Docker container also we will need to create a configuration file. Execute the following command:
mkdir /var/cache/ntfy && mkdir /etc/ntfyWe now have created directories one for Cache and a second for NTFY configuration. Let’s now create a configuration file. The default configuration file can be found by clicking here ( NTFY Github ) Copy the content of the configuration file and then past it in the:
nano /etc/ntfy/server.ymlNow for Android users, the default configuration would work perfectly, but as we know IoS ( Apple ) has something developed differently therefore we would need to make some changes to the default configuration file. But Android users can skip this part, but I wouldn’t suggest it as it will bring you additional free features, and who wouldn’t like free features. So let’s change these lines
Uncommon:
#base-url:And add your server IP, domain, or subdomain in this tutorial we will use a subdomain so at the end it should look something like this:
base-url: http://ntfy.valters.euNow so that IOS Apple devices receive the push Notifications we need to uncomment the:
#upstream-base-url: "https://ntfy.sh"So that it looks like:
upstream-base-url: "https://ntfy.sh"Now you have a question is it secure to use some other server? In this case, I would say yes, since that is the developer server, and the developer will not see your messages, the developer will only receive the message ID, and then the iPhone ( Apple device ) will ping your server for the message, so it is secure. And that is the workaround for the IOS.
Now there is one more thing. Since I didn’t find how to put login on the webUI, and the webUI will not be used regularly, then we can disable it. But if you want to use web UI then you can leave it as it is and it will be publically available for everyone in the web UI the visitors can see the messages, send messages, and create topics. As the software works on Topics. So let’s find the line uncomment it and add disabled to the text:
#web-root: /And replace it with:
web-root: disable3 Start Docker container
Now that we have made all the changes, we can now save the file and start our Docker container with the following command:
sudo docker run \
-v /var/cache/ntfy:/var/cache/ntfy \
-v /etc/ntfy:/etc/ntfy \
-p 80:80 \
-itd \
binwiederhier/ntfy \
	serve \
	--cache-file /var/cache/ntfy/cache.db
Now we can check with the following command if our Docker container is running:
docker ps -aIt should look like this:

So if you didn’t disable the web UI then you can open your browser and go to http:// or http://your-domain-name.com But if you did, then we go to the next step:
4 Install SmartPhone App
Now once our server is ready we need to install our SmartPhone ( Android and iPhone ) Application so let’s start with Android.
Open the Google Play store and search for NTFY.
Click on install:
Once the installation is done, open the app. It will ask to allow notifications and since we want to receive notifications then we need to allow them.
Now let’s create and subscribe to a topic. To do that click on the + sign in the right bottom corner
Now enter the topic name in my example I will be using valters.
Click on User Another server, as we will be using our server.
And enter your server ip, domain or subdomain. Once done click on Subscribe
Now as we can see, we are subscribed to a topic, since this is from a youtube video demo, I already have some messages
The IoS ( Apple ) process is identically the same.
5 Examples of usage
Now once we have done that, we can now execute the following commands on our server
For example:
To send an alert when the server is down and backed up we can do the following command with && that identifies when something has happened and the || that does the opposite reaction of &&
ping valters.eu -c 3 || curl -d "It's down" ntfy.valters.eu/valters && curl -d "it's up" ntfy.valters.eu/valtersWe can schedule a message to automatically send us after 10 seconds, minutes, hours, days, months, and years
curl -H "In: 10sec" -d "Hey I'm 10 seconds older" ntfy.valters.eu/valtersWe can add emojis, the full emoji list can be found here
curl -H ta:innocent -d "Subscribe" ntfy.valters.eu/valtersWe can also add it to receive messages once the download is finished
wget https://somedomain.com/largefile.zip && curl -d "The file is downloaded" ntfy.valters.eu/valtersAlso, we can add it to cron to notify us on the commands if it was successful or failed:
0 0 * * * /path/to/the/script/backup.sh && curl -d "Daily database job succeeded" ntfy.valters.eu/valters || curl -d "Daily backup job dailed" ntfy.valters.eu/valtersAlso while:
while ! ping -c1 valters.eu &>/dev/null; do sleep 1; done; curl -d "It's down" ntfy.valters.eu/valtersThese are Just a few examples of several, as you can do a lot of amazing things, the only limitation is your imagination.
The softer vendors’ user guides can be found by clicking here. My personal view is that this is an amazing app especially since they provide it for free of use, so many thanks for that, but if you want to support the software developers’ development then please feel free to donate to them directly. So now I’m using it and I really like it as it is great and saves me a lot of time.
If you liked this blog post and my YouTube video subscribe and follow for more also follow me on Twitter for more interesting stuff.
NTFY Official website: https://ntfy.sh
My YouTube Chanel: https://www.youtube.com/@valters_eu
My Twitter: http://twitter.com/valters_eu