
H. Valters
Ethical Penetration tester / DevSecOps / IT Solution Developer / System administrator

Kasm Workspace secure way of working and Digital IT Lab
A time ago I wrote an article on how to install and configure Kasm Workspaces. Now some time has passed and there are some changes that I would like to reflect on in this new article. At the same time, I’m also creating a video tutorial on How to install Kasm workspaces. ( The old article can be found here ).
If you don’t want to read all, the video tutorial and information can be found by clicking here YouTube or Rumble
So what is Kasm Workspaces?
Kasm Workspaces is a container streaming platform for delivering browser, desktop and application workloads to the web browser.
Kasm is changing the way that businesses deliver digital workspaces using our open-source web-native container streaming technology to establish a modern devops delivery of Desktop as a Service (DaaS), application streaming, and browser isolation. Kasm is not just a service, it is a highly configurable platform, with a robust developer API that can be customized for your use-case, at any scale. Workspaces is truly wherever the work is. It can be deployed in the cloud (Public or Private), on-premise (Including Air-Gapped Networks), or in a hybrid configuration.
Kasm Workspaces was developed by a team of cybersecurity experts to meet the most demanding secure collaboration and remote workforce requirements of the US Government, but is now available to companies of all sizes and across all industries. Our solution makes use of the latest technology in container orchestration, browser rendering technology and devops pipelines to establish an architecture that is highly efficient, scalable and customizable. Most importantly, Workspaces provides a platform, rather than a service, so it is infinitely customizable to your unique requirements and includes a developer API so that it can be integrated with, rather than replace, your existing applications and workflows.
Kasm provides the backend Platform as a Service (PaaS) technology that powers SaaS offerings across a wide variety of industries, including the Defense Sector, Financial, Accounting/Legal, Industrial, Energy, Education, Health Care, Law Enforcement, Data Warehousing, Artificial Intelligence and Technology Startups. You might be surprised where you will find Kasm as the silent workhorse under the hood.
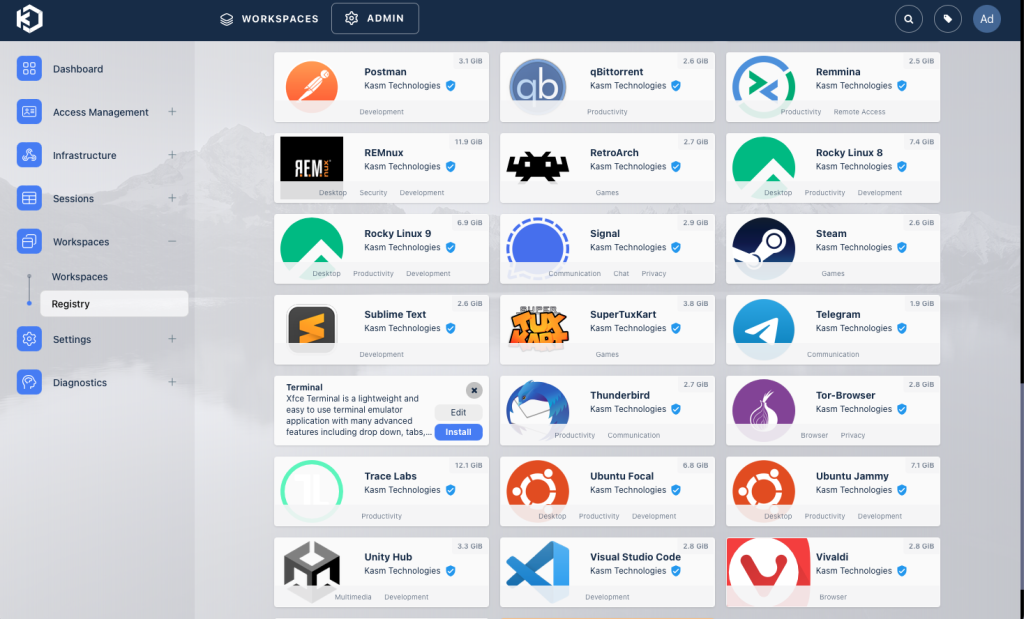
Kasm Workspace contains a lot of Wirkspaces that basically are Docker Images which can be installed from something like an App Store easy to install/manage and use. The plus side is that they automatically update.
The above are Just a few of the available apps, but the good part is that Kasm Workspace is a growing project, that continues to maintain in the above image Apps and + it also is adding new ones. The list of the Apps you can see in the Kasm Workspace Docker Hub: Click here The amount of apps is pretty good and the quality also is amazing, due to the fact that Kasm Workspace is a free-to-use tool, with no commitments or anything. But if it is not enough or you need something specific, then you always have a choice to create your own, As Kasm Workspace offers the ability to integrate 3-party apps or even your own created Docker image apps. It is easy to create it is the same process as create a Docker image, the information on that can be found here
So In my point of view, for what Kasm Workspace can be used?
If you want to protect your identity online and when downloading something that you are not sure of, you can download and open it in a Docker container instead of your device, which protects you from files, that can contain viruses.
if you are managing a lot of servers, then the secure way to connect to them is using the Kasm Workspace Terminal function, as Kasm has 2 Factor Authentication that increases the protection and by whitelisting your Kasm Workspace IP then only you can connect to SSH or Remote Desktop.
If your employees or partners are working remotely and you don’t want to purchase specific VPN services, but the App or the internal System and Websites you need to access in a protective way so that it is limited to the people or even connect to an internal Database, you can do that with Kasm Workspaces as it is possible to create several users and whitelist your Kasm Workspace IP in your office, datacenter or server network to allow you secure connection and only the people who have Kasm Workspace login and 2 Factor Authentication can log in and access your systems, etc.
The above-mentioned examples are only a few, as with Kasm Workspace you can achieve even more things in a secure way. Also if you have several users, then you can see what App each user has used and when, but what he has done in the App you cannot see. Also, another benefit is that you cannot get viruses and Kasm Workspace offers Mozilla, Chrome, and Edge Plugins so that you can launch a website in the container directly from your browser or Download a file in the Docker container directly, but keep in mind that once you close the Kasm Workspace then the Docker container with all the data and history is deleted. So this is also a safe way to walk tru Dark Web and other malicious sites. So overall I see a lot of benefits, to securing your infrastructure having your own workspace work lab, or home lab, and protecting your data. I personally use it and think that it is a great tool, but also would like to say Thanks to Kasm Workspace who created this tool and also gave it free of use. With all that let’s get started on installing it.
All the action will take place in a Linux terminal
1 Update and Upgrade Linux repos.
apt-get update && apt-get upgrade -y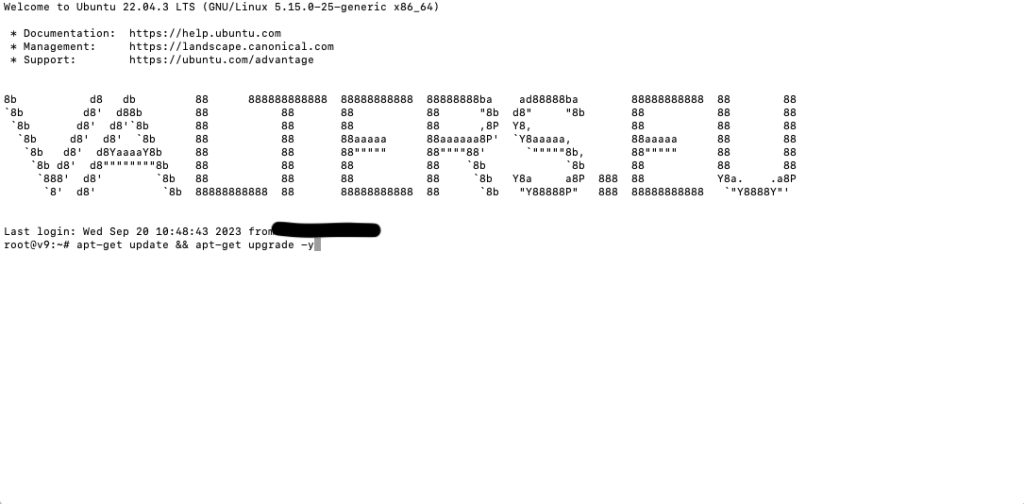
2 So that we keep our Linux system clean, let’s go to TMP dir
cd /tmp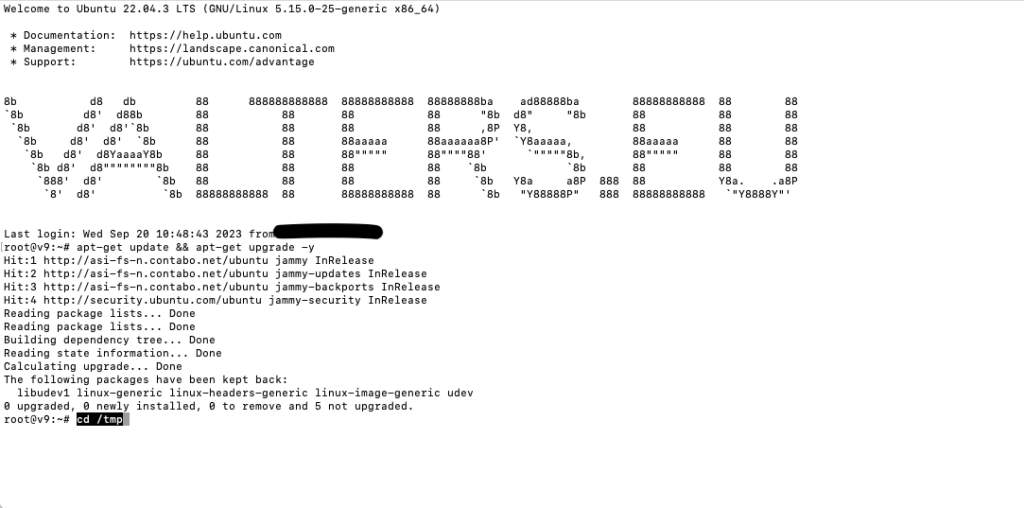
3 Let’s download Kasm Release
For the Kasm releases and changes in Kasm Workspace, you can check in here execute in the Linux terminal
curl -O https://kasm-static-content.s3.amazonaws.com/kasm_release_1.14.0.3a7abb.tar.gz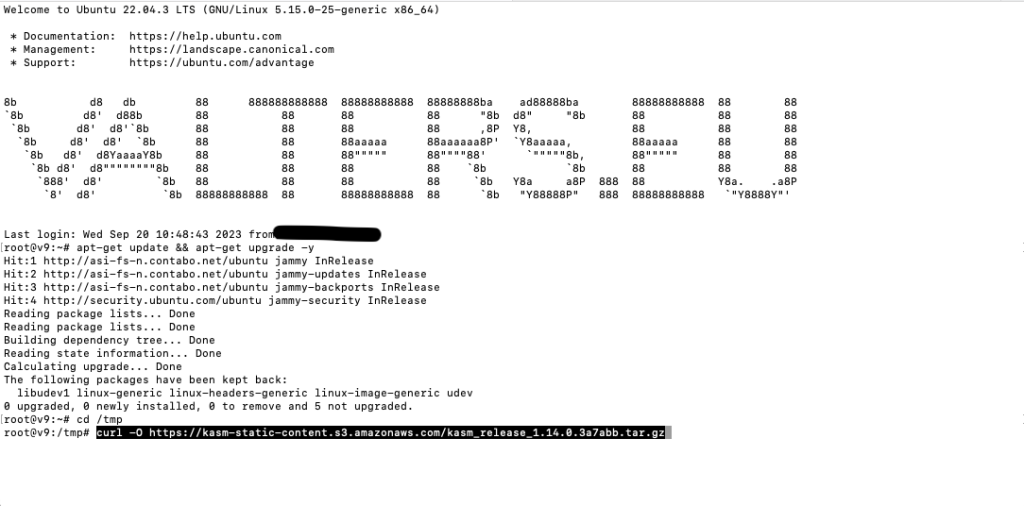
4 Let’s unarchive the release
tar -xf kasm_release_1.14.0.3a7abb.tar.gz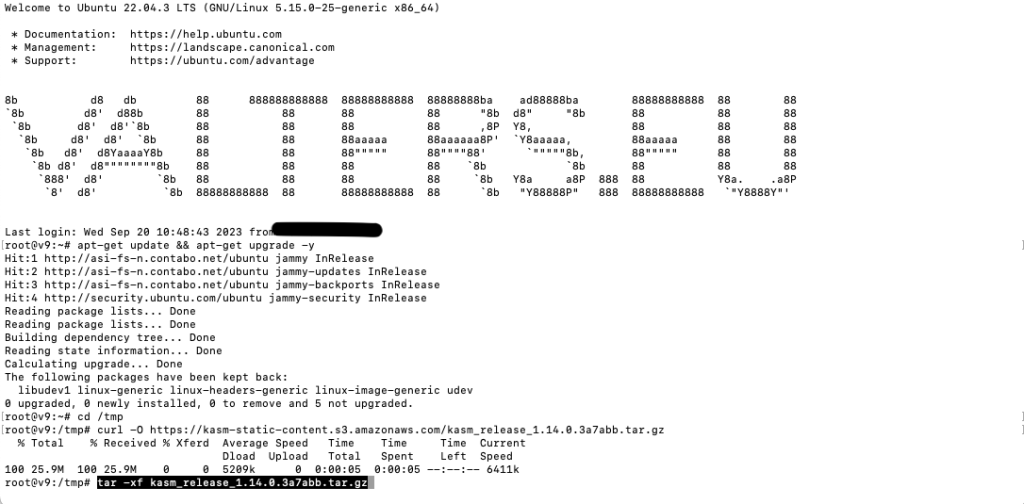
5 Now let’s start the installation Process
This process will take some time, so I would suggest before you start, create some hot beverages like Tea or coffee since Autumn and Winter are coming.
sudo bash kasm_release/install.sh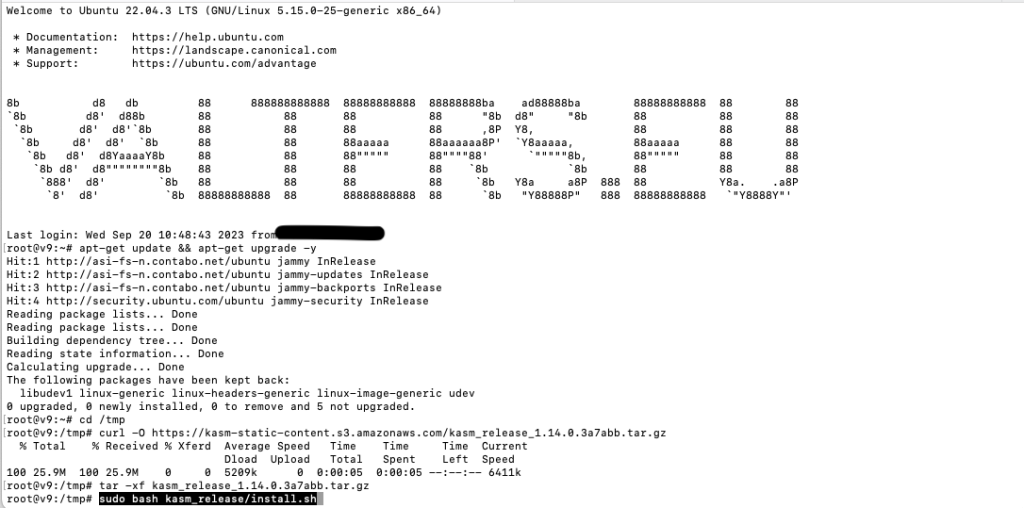
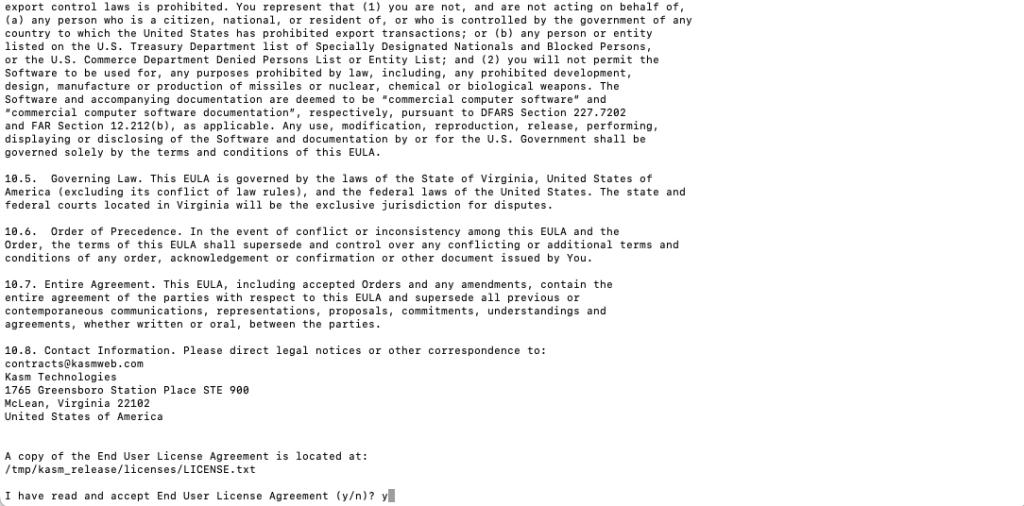
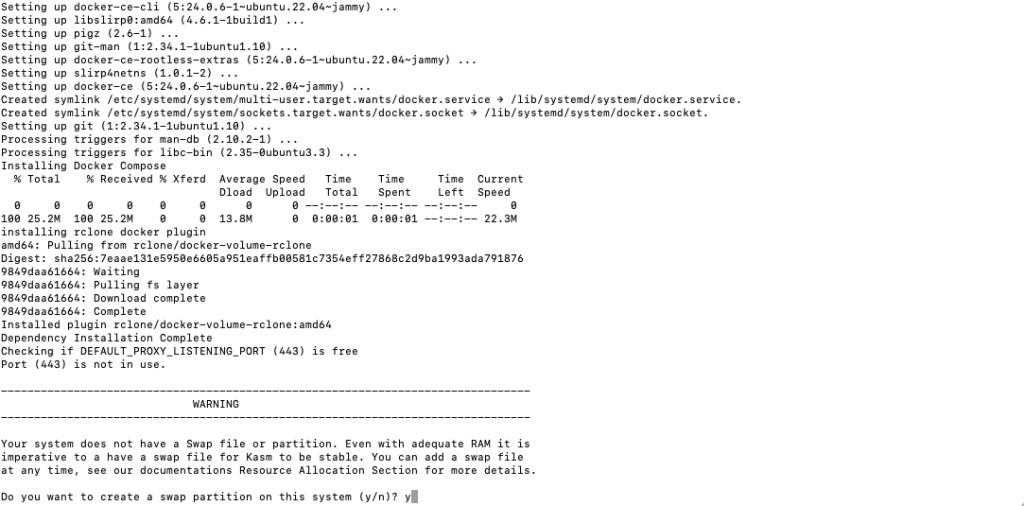
The installation will ask you 2 questions, One is to confirm the User Agreement ( I would suggest you read it ) But once you have done it and you accept it you need to type Y and press Enter, if you don’t approve it then installation will be canceled
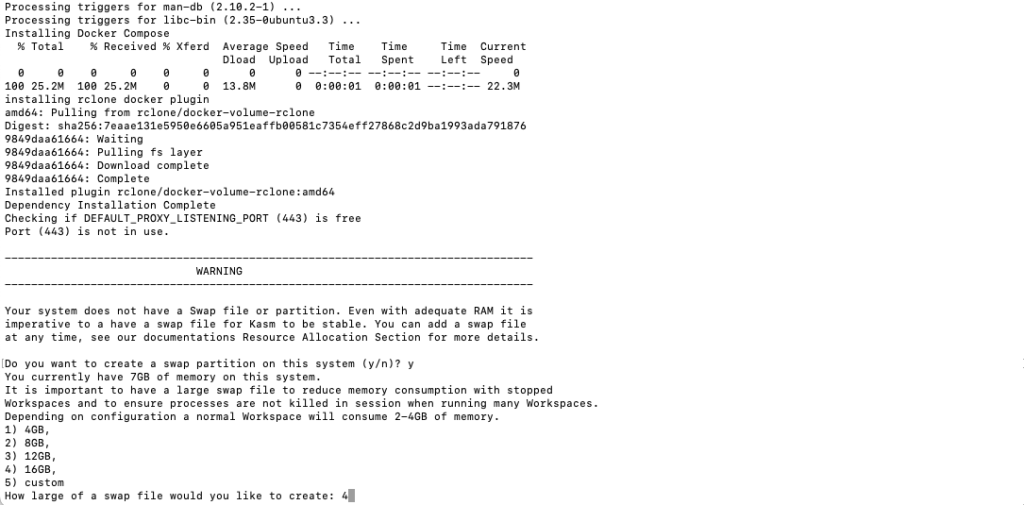
Since my VPS server doesn’t contain a Swap partition (The hosting provider by default installs without it and yes I can change that by manually partionating Partition before installation but don’t want to ). If you have the same situation then the Kasm Workspace installation will ask you if you would like to automatically create the Swap Partition. In this step, Kasm will automatically create a Swap file so that the experience is much smoother. Since I have 4 GB of Ram memory and a lot of disk space, I have selected a swap to be created 16 GB ( Kasm workspace will offer you 4 Options of Swap size ). I would suggest 2 or 3 times more than you have in your Ram as that makes it much smoother to work for the Docker and containers.
Once the installation is complete you will see Kasm Workspace credentials, you need to save them as if you lease them there is only one way currently to get them by reinstalling Kasm Workspace. For security reasons keep the Credentials safe and don’t share them with anyone as then the person can get access and do bad things that you might be guilty of since the VPS that you have ordered and are using has a dedicated IP address and can be traced back to you. The credentials look like this:
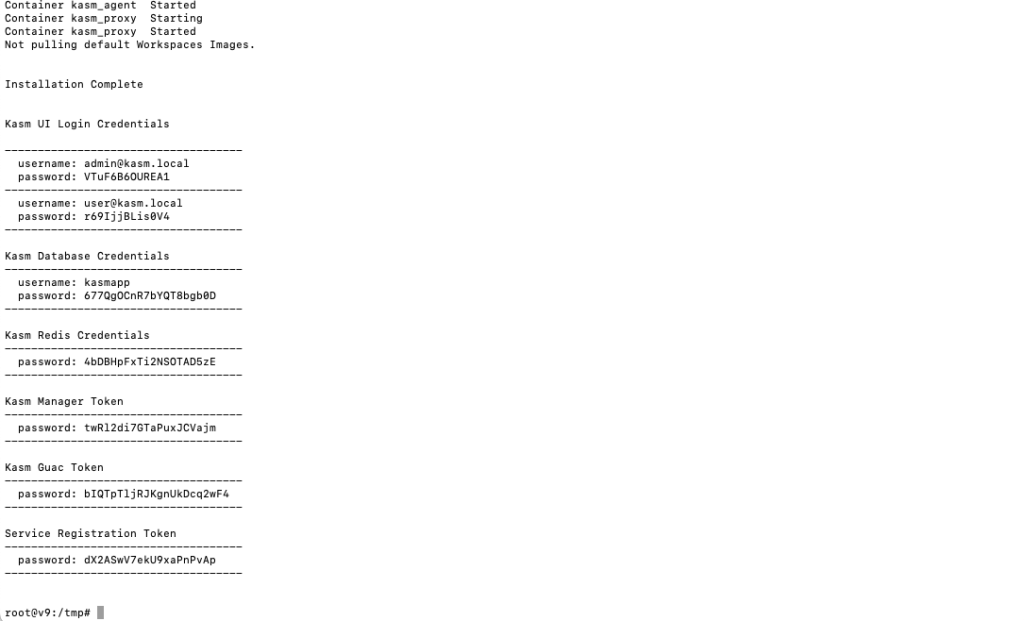
So what has happened in the last few minutes? The installation that we have run has installed a Docker with all required things plus it has created a Swap file so that Docker and Kasm Workspace can work better ( I say better since also Hardware and Network speed is a factor of smoothness) and at the end the script has installed Kasm Workspace and created all user accounts, so now the terminal part and installation is finished.
Let’s log into Kasm Workspace. To do that you need to go to https://<your-ip> or https://<your-domain> or https://<your-subdomain> if you have assigned it to your IP.
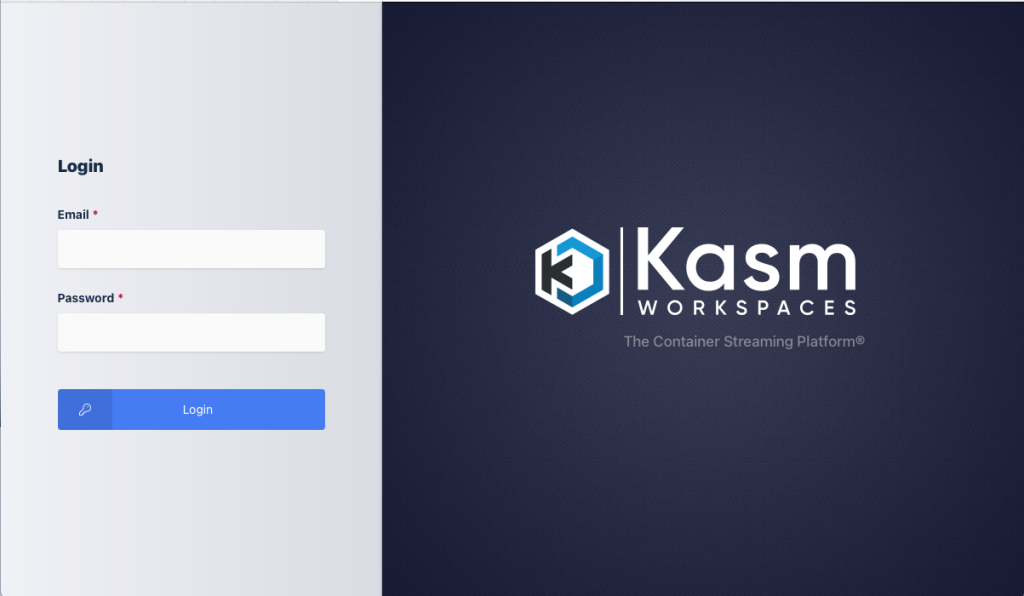
Enter the credentials that you were shown in the Terminal ( SSH ) after the installation. I use the admin login account
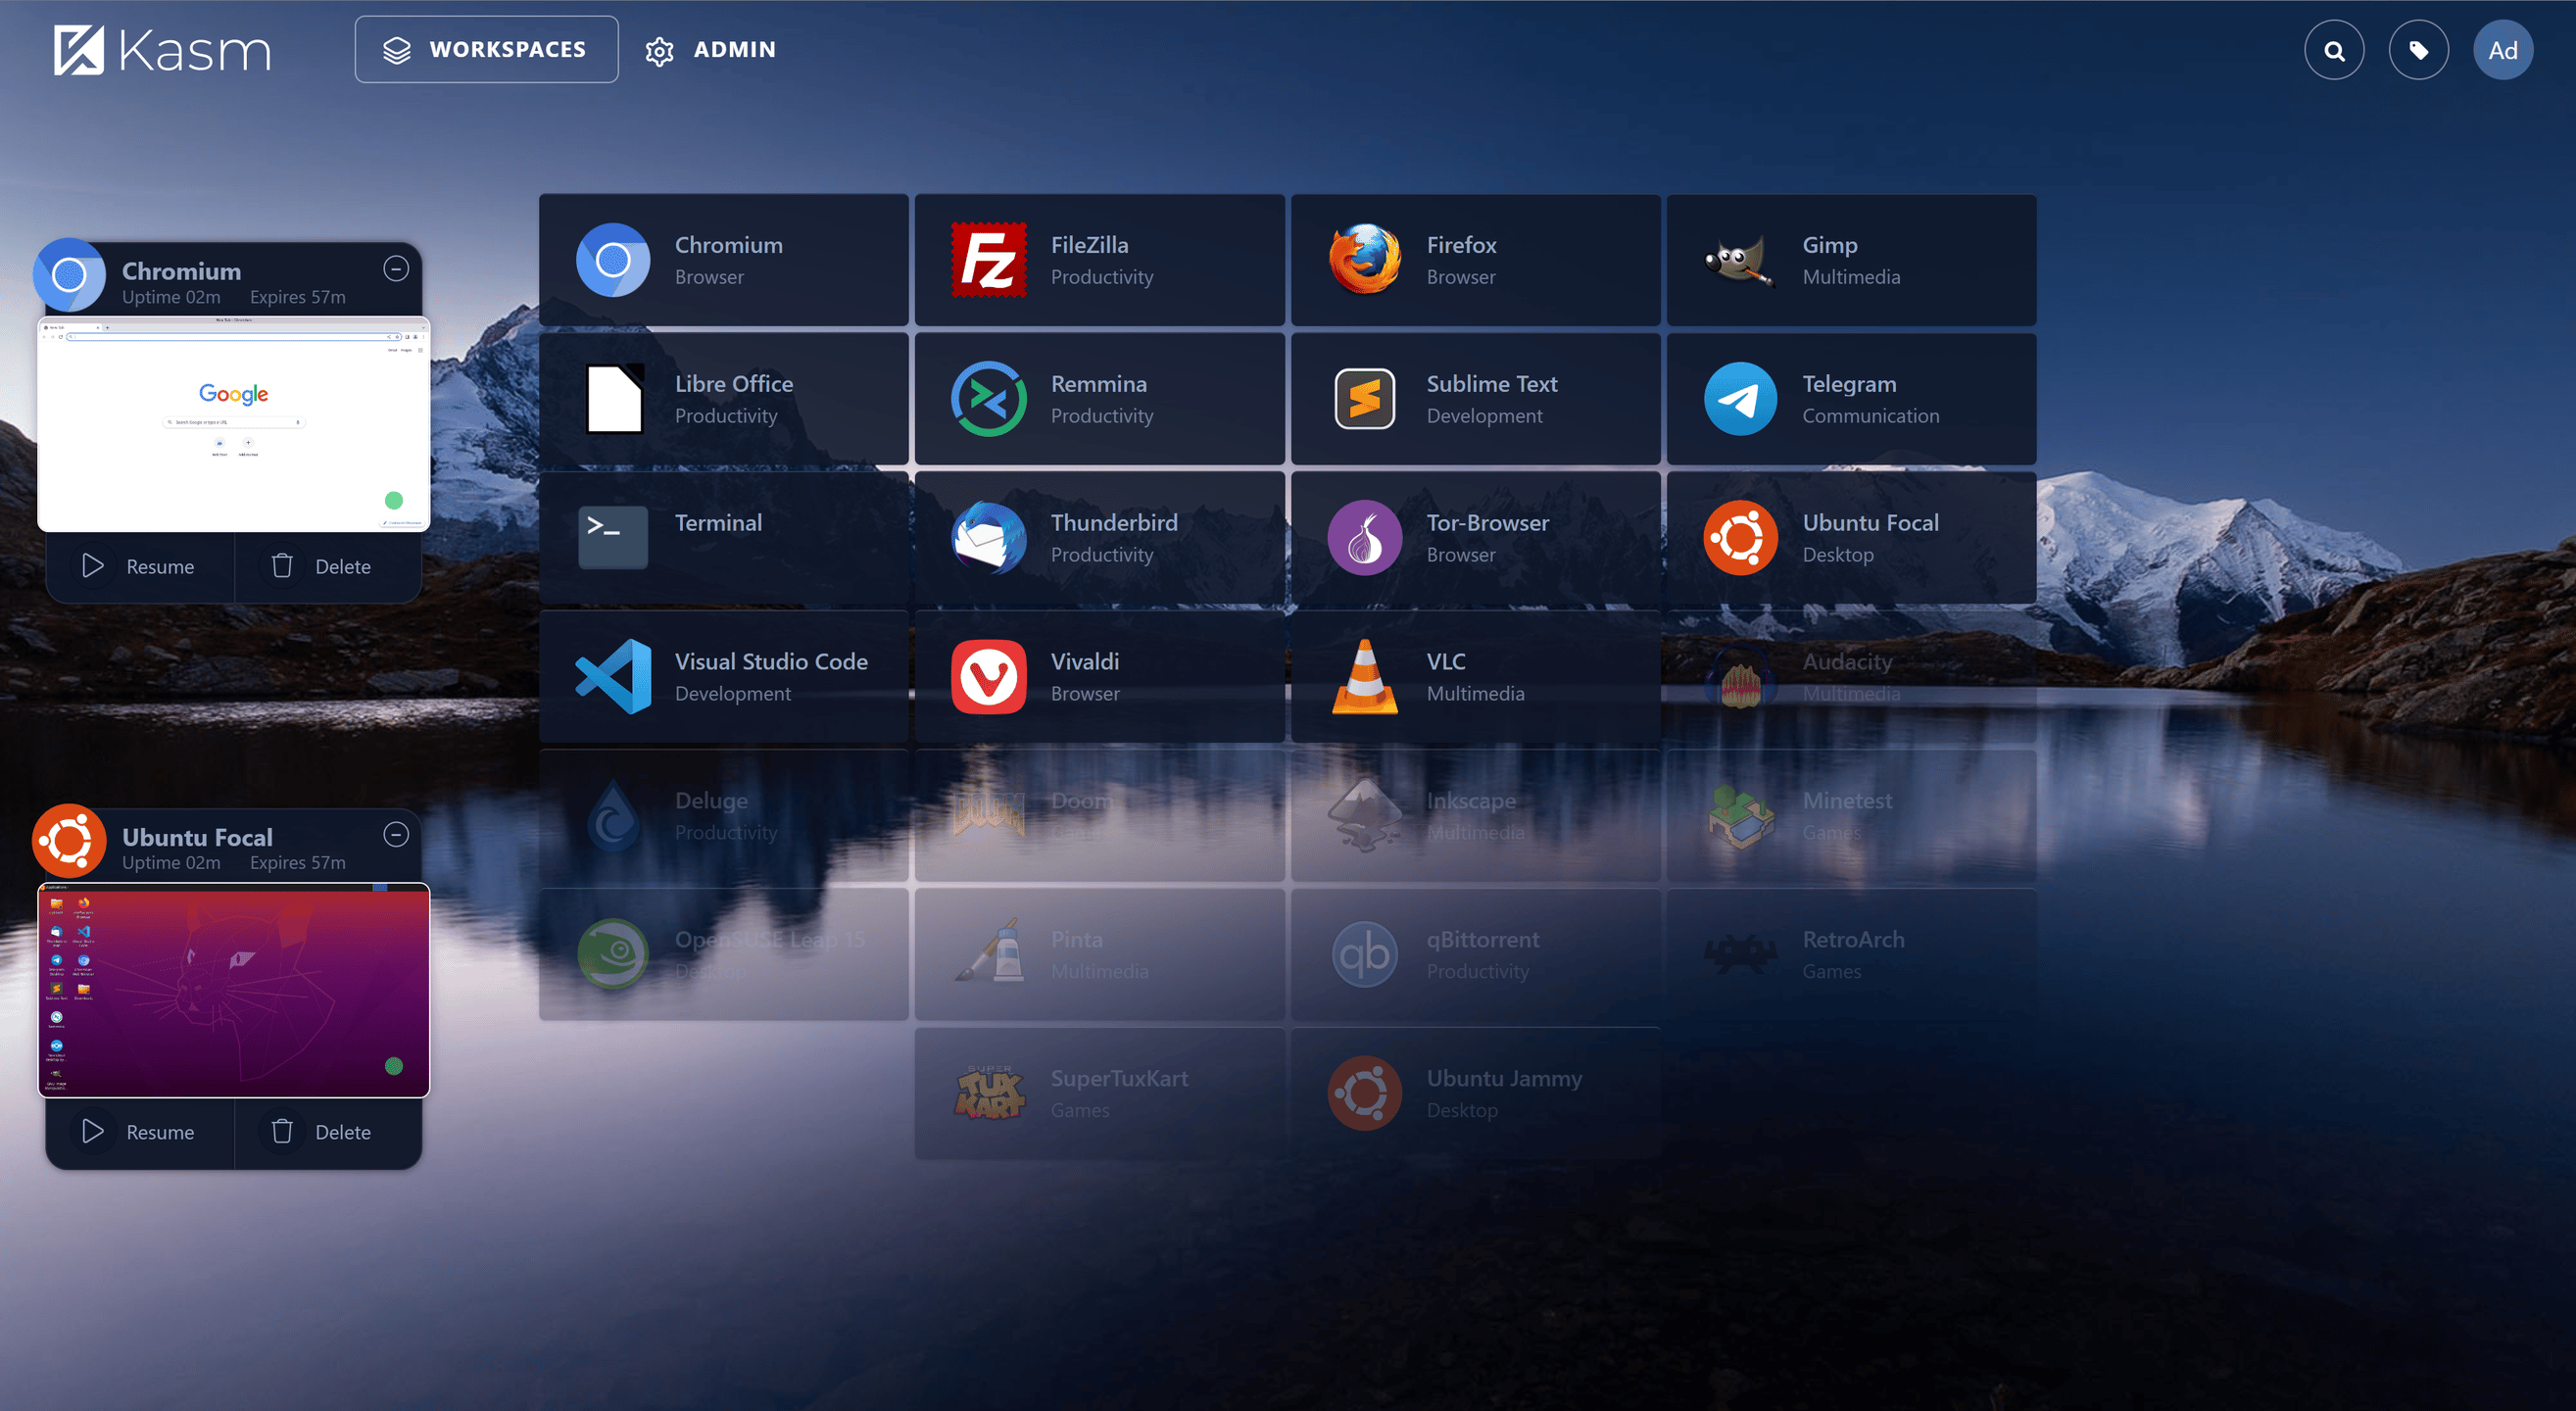
Once when we log in we will see a Dashboard. In my Dashboard I already have Brave and Chromium browsers downloaded. But you will have it empty.
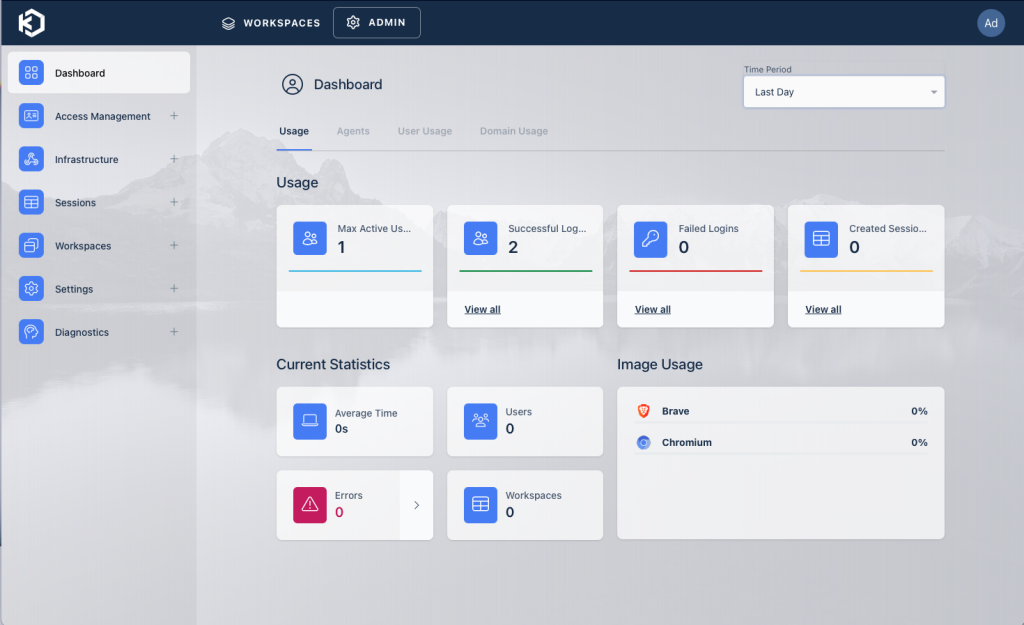
In one year’s time Kasm Workspace has changed its design 100% and what I can say is that it looks much better and easier to use. They have done an amazing Job. But that isn’t all, as also they have created an option that you can add more Docker servers as Nodes that can be used to use Images in different regions. Example: If you have 3 Servers one located in Latvia, one in the United States, and One in the United Kingdom. You can use one as the main Kasm Workspace instance, let’s say Latvia is the main one and the United Kingdom and the United States are additional nodes and I can run the Brawe browser in the United Kingdom from UK IP, in the United States from USA IP and in Latvia from Latvian IP and that is available for all applications what brings you redundancy and more options.
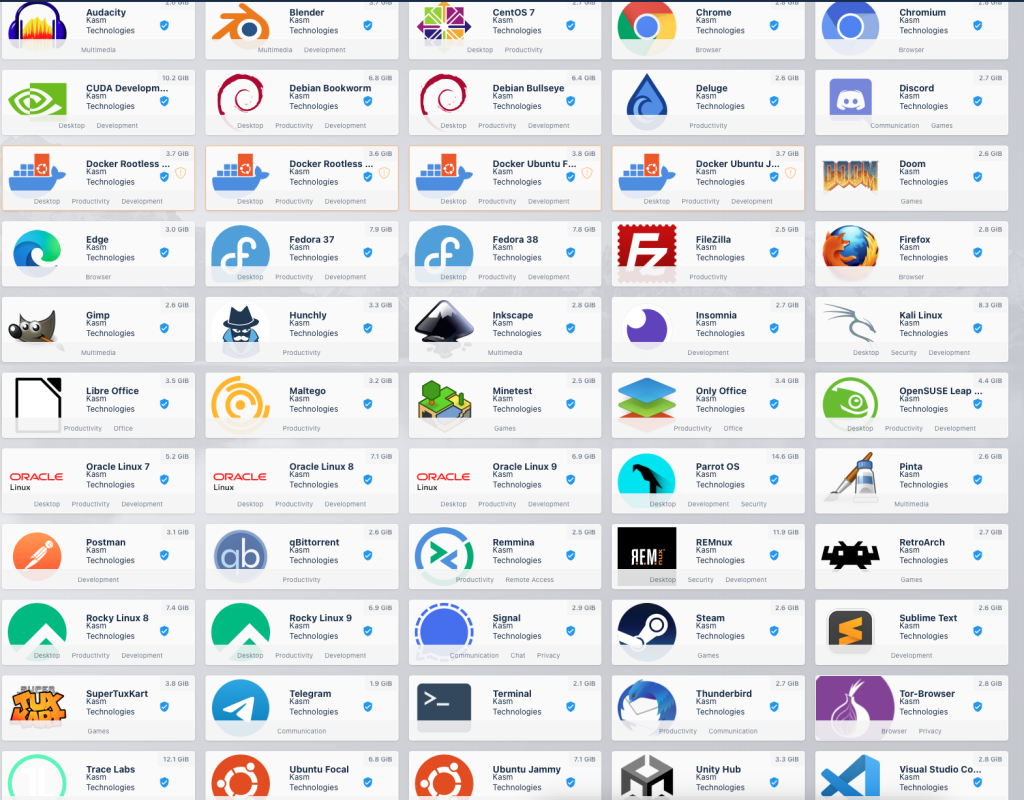
Now let’s navigate to the Left sidebar to Workspaces > Registry
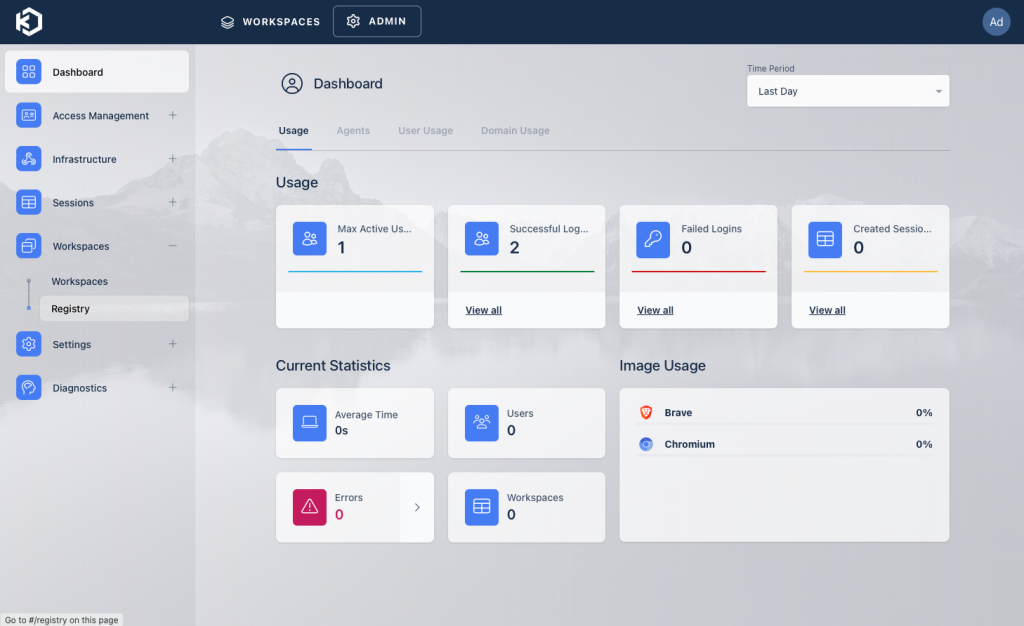
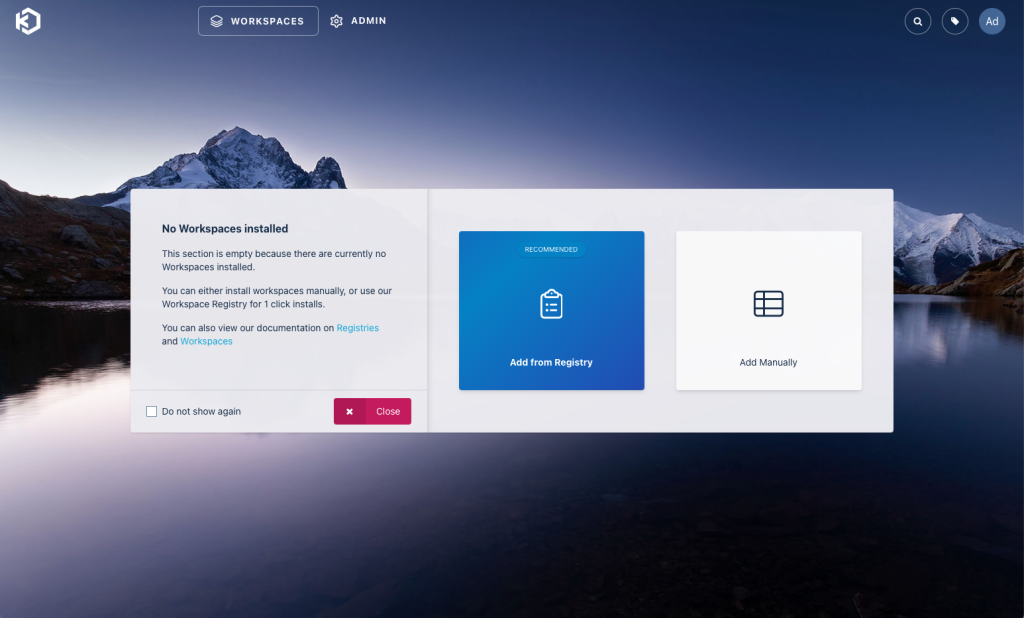
In the Registry, we can see all available Docker images this is like an App store, to have and run a Docker Kasm image, you 1 need to download it, so choose the Image you want by clicking on it and you will see the image Description, Edit button and also Download. When we click on Install it will start Downloading in the Background, the Download speed depends on your hardware load and network speed as the Images come directly from Docker Hub, but that is just a time download as updates are faster. Since I have 1 GBp/s on my VPS then it is Just up to 10 seconds to download the image.
Once we have our Image ready, click on the top menu bar Workspaces to access your ready images and start using them.
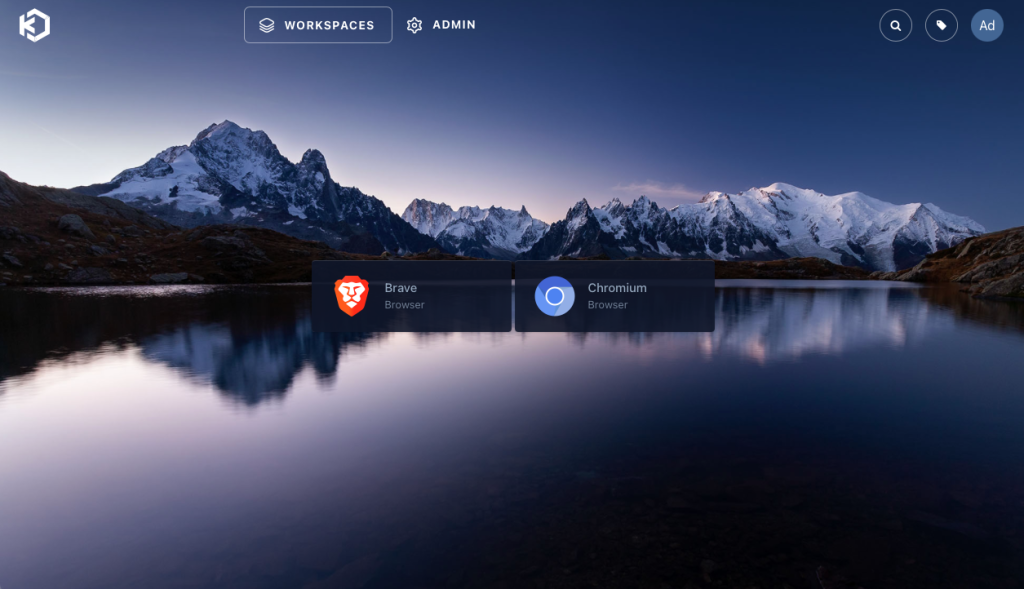
Now when we click for example on Brave it will offer us if we want to open it in the same tab or a new tab. I’m choosing a new tab, so now we can see that the session is ready and in the browser, it should open a new tab.

And here is Brave in a new tab with all the additional options, that can be enabled or disabled at any time when needed also when you want to copy and paste something from your device to Brave or other apps or copy something back from Apps to the browser you will need to select copy past in the many on the left that slides in and out. So that click bites don’t get you or some malicious javascript, etc.
There are a lot of configurations that you can change for example session time, the default is 59 minutes after 59 minutes the Docker container is automatically destroyed. I have set personally in the settings that the session time is 370 days so that I can be in control and choose when the container should be stopped/destroyed with all the data. You can have multiple sessions with multiple Applications. Since this has become a long entry I will not dive in deep, but will create a separate blog post, to be up to date follow me on Twitter by clicking here.
If you have a question about for what I’m using Kasm Workspace. The answer is simple, I’m using it to browse the Dark web and strange untrusted websites so that my main device doesn’t get infected, also I have in-house hosted Kasm that I use for accessing my VPS instances that are in several locations. I have one Kasm on VPS, but the main one is at home and connected to Cloudflare tunnel so that I can access it remotely.
Thank you for reading this long blog post, would be thankful for a follow on Twitter and YouTube as that is what drives me forward to do research and introduce a new interesting tech or how to secure your business.