
H. Valters
Ethical Penetration tester / DevSecOps / IT Solution Developer / System administrator

How to install Zabbix Server 5.0 LTS on Ubuntu 20.0 LTS
Today there was planned to come out a tutorial about how to setup self-hosted VPN on Linux Machine, that supports many protocols, but I didn’t finish the second part that also is needed, the VPN configuration part, and therefore since I was needed to install Zabbix on few servers, I created this tutorial that was the spare of the moment thing. So I hope, that this Tutorial on How to install Zabbix on Linux Ubuntu will come in handy to you dear visitor.
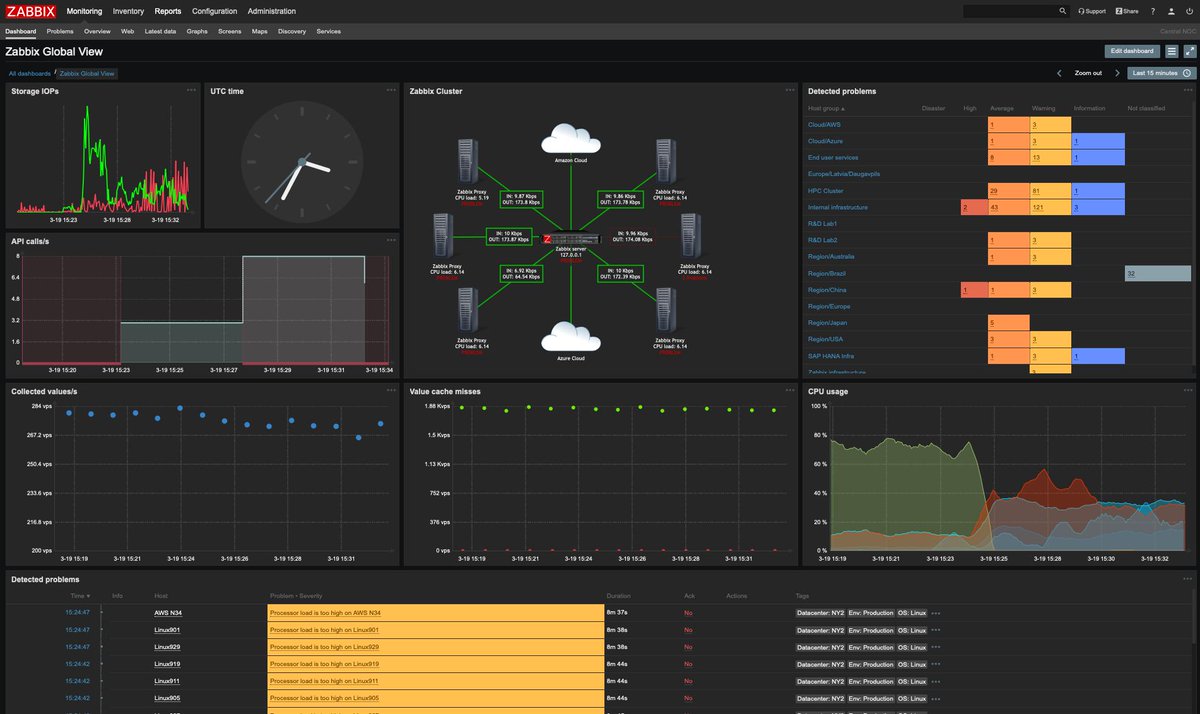
I think, that Zabbix is a good monitoring system since it has a very good and functional web-UI and also the system is very flexible and with the Zabbix, that is coming out there will be an option to easily create your modules, at the moment you can also create your modules, but that is not in go language, that will be soon available, basically is now, but not in a stable version. With Zabbix, you can do a lot of tricky things, that I will be covering some well-known and daily things that I use.
What is Zabbix?
Zabbix is an open-source monitoring software tool for diverse IT components, including networks, servers, virtual machines, and cloud services. Zabbix provides monitoring metrics, among others network utilization, CPU load and disk space consumption, and others. So, let’s get started installing.
- We will setup MariaDB
Install MariaDB by executing the following line in your Linux console:
sudo apt -y install mariadb-common mariadb-server mariadb-clientOnce we have installed MariaDB now we can enable it to auto-start once the server is a reboot or started and also start it by executing the following command:
sudo systemctl enable mariadb ; sudo systemctl start mariadbNow we have successfully installed MariaDB and also started it, it is time to change the default root password. About the password, I recommend using 14 digits long password that would increase capital and lower case letters also digits and special symbols, the longer your password will be the harder it will be for someone to crack it as a longer password would recommend someone to spend a lot of computing power and resources sinuously to crack it faster, but again the longer password the harder it is to crack.
To change the default MariaDB password run the following command:
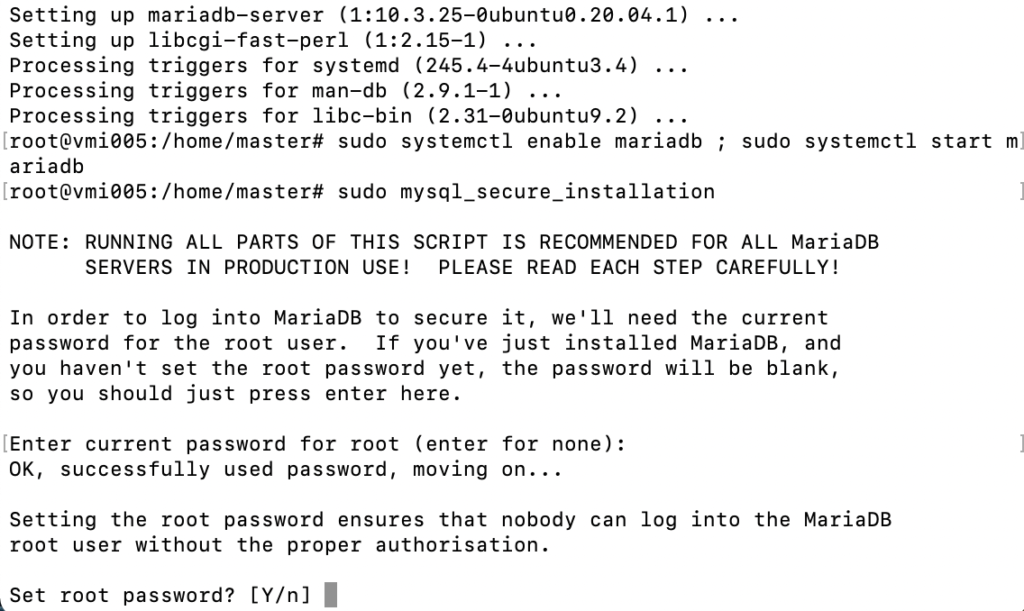
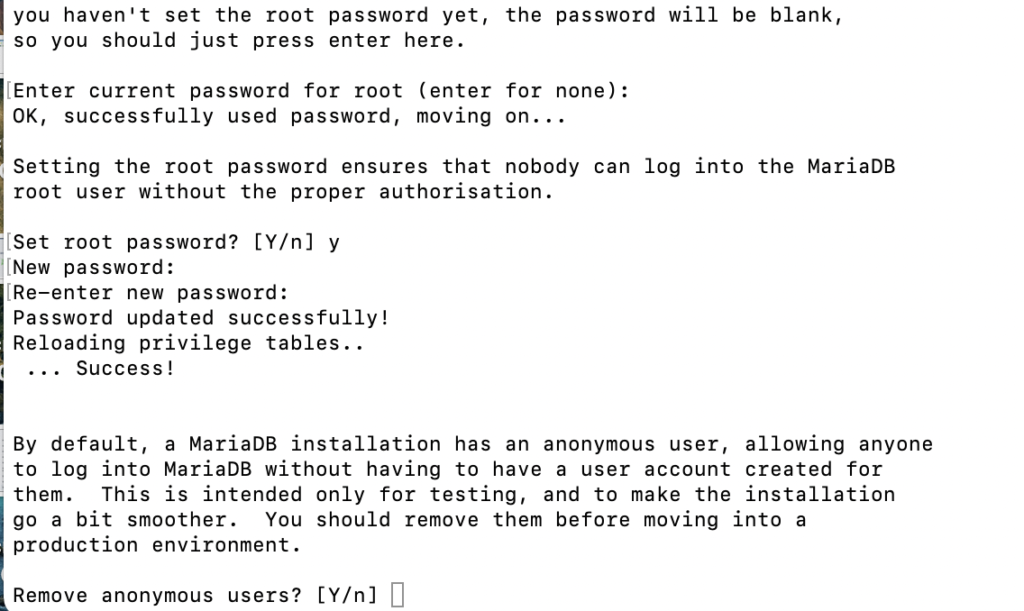
sudo mysql_secure_installationOnce the command is executed it will ask you to enter the current password, but since this is a clean installation it doesn’t have any password set so Just press enter.

It will ask you if you want to Set root password? Press y
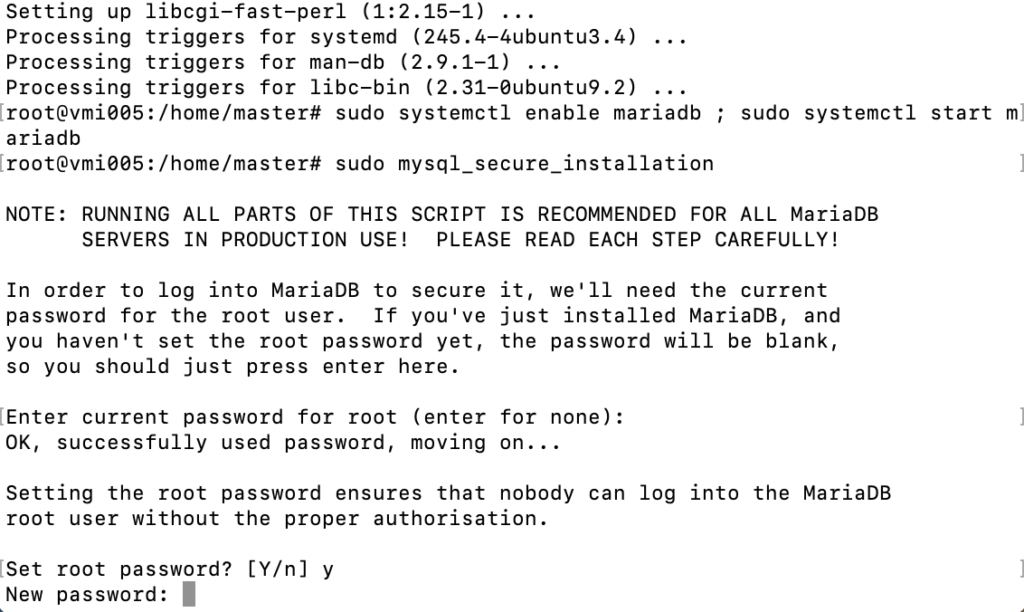
Once you have pressed Y it will ask you to enter your ** top secret password **
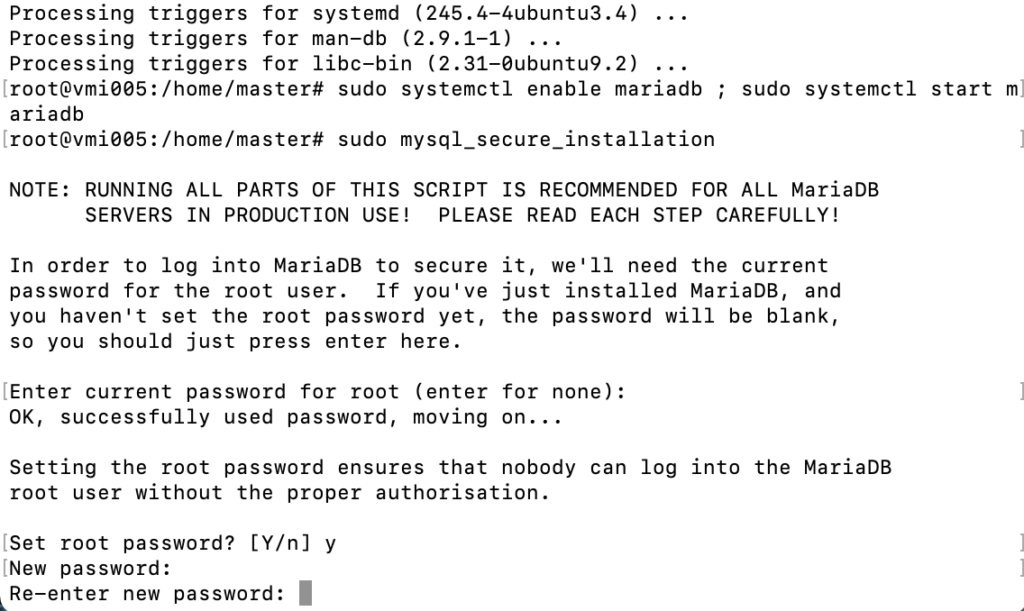
Once you have entered your ** top secret password ** and press enter it will ask you to enter the password again to confirm, that you haven’t made any mistakes so enter the same password again and press enter
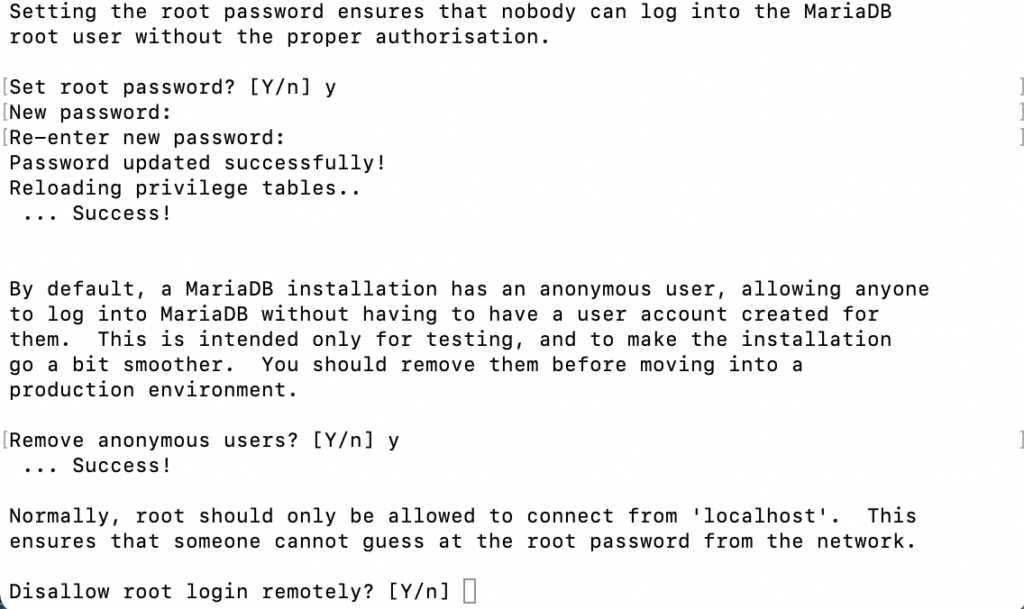
Now that we have set our MariaDB password we can answer a few questions, like “Remove anonymous users?” Press Y
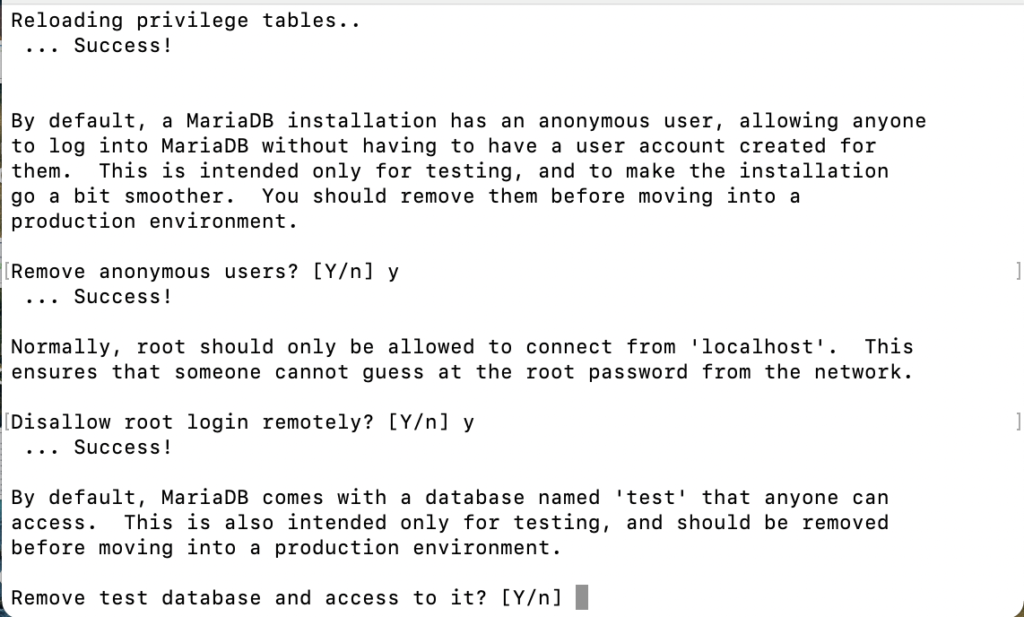
Now here you would need to decide how you would like to proceed. For example, My Zabbix server will be under 2 Firewalls ( One Local Ubuntu Firewall ), and ( Second Will be my router’s firewall ) Zabbix will only need to access resources externally but there will be no Incoming connections. I already know that I will do something interesting with Zabbix, which will be in future posts, but it will all communicated via an internal VPN network between several locations. So in this case, since I’m under VPN and want to access MySQL from external soft like DataGRIP I will allow MySQL root to access MySQL remotely. So I will press Y and enter
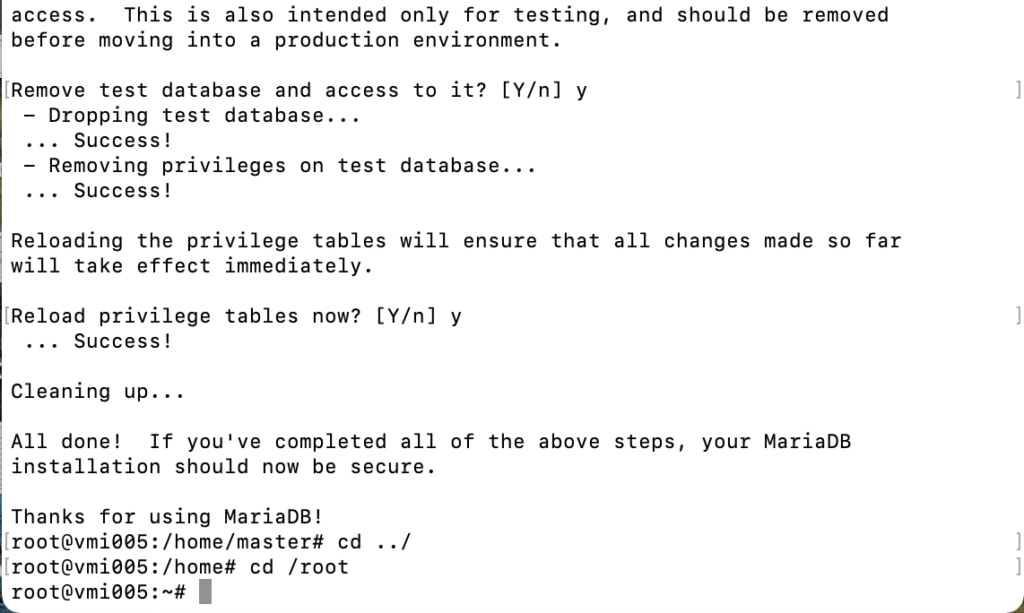
Now it will ask you “Remove test database and access to it? – Press Y and Enter
“Reload privilege tables now?” Press Y and Enter
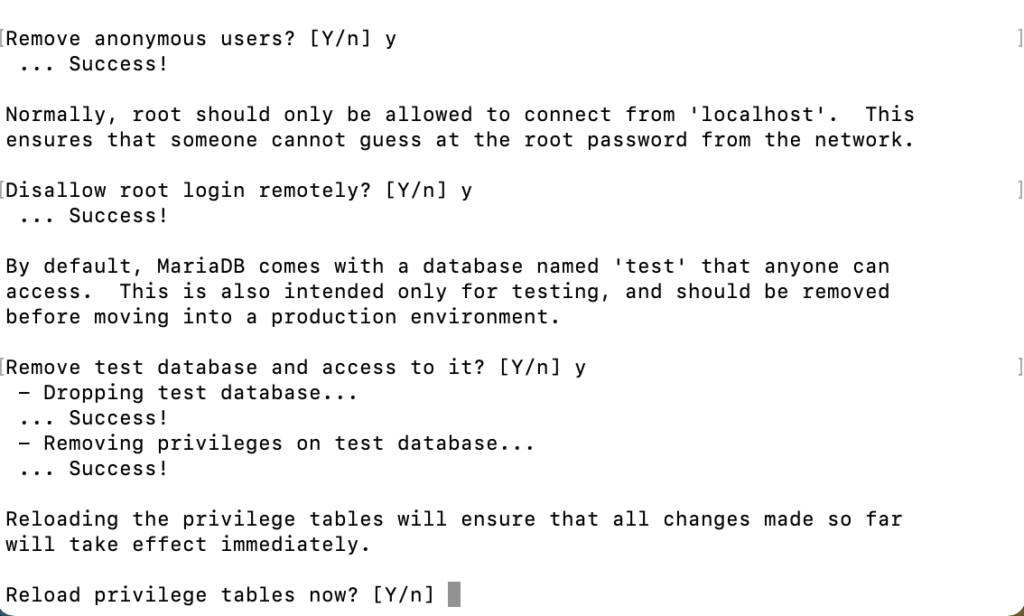
And here we go now we have a fully functioning MariaDB MySQL Installed and configured ready to start work.
2. Once we have installed MySQL MariaDB now we can create a MySQL Database and User for Zabbix ( Please don’t use root as a user or root password for the new user as it would be insecure )
Let’s create a MySQL database for Zabbix, that will support uft8 we will call the database zabbix. To create the database execute the following command:
sudo mysql -uroot -p -e "create database zabbix character set utf8 collate utf8_bin;"
Enter your ** top secret ** password and press Enter
Now we will create a new MySQL user for Zabbix that will be allowed to access only the zabbix MySQL database. To create the MySQL user and grant access to the database execute the bellow command in your Linux terminal, but before you do that change topsecretpassword to your secure password
sudo mysql -uroot -p -e "grant all privileges on zabbix.* to zabbix@localhost identified by 'topsecretpassword';"Now we need to Temporary disable strict mode (ZBX-16465) to avoid MySQL error “ERROR 1118 (42000) at line 1284: Row size too large (> 8126)” : Execute the following command and enter your ** top secret ** password
sudo mysql -uroot -p zabbix -e "set global innodb_strict_mode='OFF';"3. Now that we have done the all above we can start installing Zabbix server and Zabbix agent
Execute the following command to download Zabbix packages:
wget https://repo.zabbix.com/zabbix/5.0/ubuntu/pool/main/z/zabbix-release/zabbix-release_5.0-1+$(lsb_release -sc)_all.deb
Now let’s install the deb package:
sudo dpkg -i zabbix-release_5.0-1+$(lsb_release -sc)_all.deb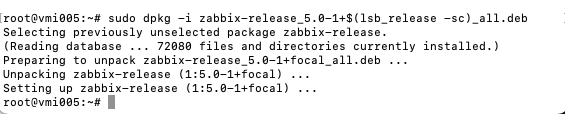
Let’s update our package list so that server knows where to search for Zabbix:
sudo apt update
Now, let’s install all Zabbix components and Zabbix itself.
sudo apt -y install zabbix-server-mysql zabbix-frontend-php zabbix-apache-conf zabbix-agentNow let’s import the Zabbix default database by executing the command, once it will ask for a password enter the Zabbix user password, that you created recently:
sudo zcat /usr/share/doc/zabbix-server-mysql*/create.sql.gz | mysql -uzabbix -p zabbixNow, let’s Enable back strict mode, execute the following command and enter your root user ** top secret ** password
sudo mysql -uroot -p zabbix -e "set global innodb_strict_mode='ON';"4. Let’s change the configuration so that the Zabbix server, can access the MySQL database.
Open zabbix_server.conf file with command: “sudo nano /etc/zabbix/zabbix_server.conf” and add database password in this format anywhere in file:
nano /etc/zabbix/zabbix_server.confFind “DBPassword=” and enter your password at the end of = . If you want to search and you are using nano editor then press CTRL + W enter the text and press enter. After you have added your Zabbix user top-secret password press Save and exit file (ctrl+x, followed by y and enter).
5. If you use Linux built-in Firewall, then allow these ports by executing one command:
ufw allow 10050/tcp ; ufw allow 10051/tcp ; ufw allow 80/tcp ; ufw reload ;6. Start Zabbix server and agent processes:
sudo systemctl restart zabbix-server zabbix-agent ; sudo systemctl enable zabbix-server zabbix-agent7. Now we need to edit the timezone for our Zabbix server to be correct open:
sudo nano /etc/zabbix/apache.confSince my server will be in Riga, I will leave it as is only remove # before the entry:
php_value date.timezone Europe/RigaAlso, we need to change the timezone php.ini
nano /etc/php/7.4/apache2/php.iniAnd search ( you can do that by ctrl.+ w and enter what you want to find ) for ;date.timezone = and change it like in the example below once done (ctrl+x, followed by y and enter).:
date.timezone = Europe/RigaNow we need to restart apache also at the same time enable it to start on autorun
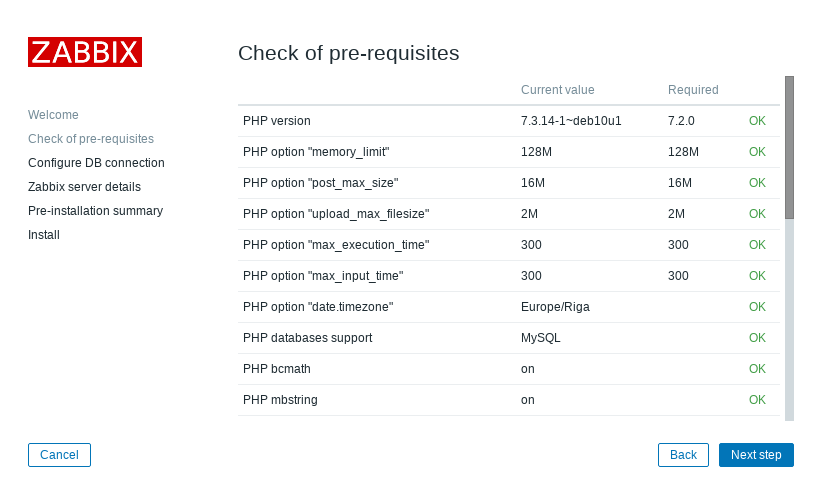
sudo systemctl restart apache2 ; sudo systemctl enable apache28. Now we need to configure Zabbix frontend:
Open your browser and go to ( Replace server_ip_or_dns_name with your server IP or domain name ):
http://server_ip_or_dns_name/zabbix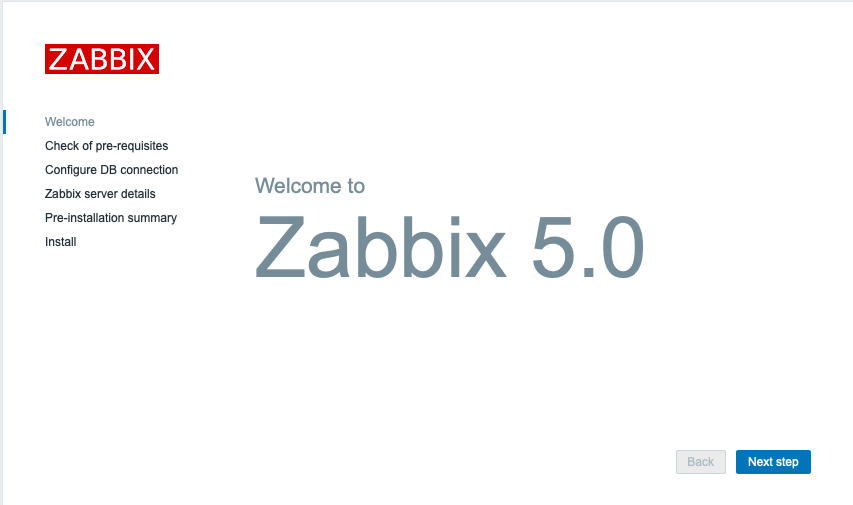
Here we see that all is ok, if something is Failed then you need to fix it, but if you have followed all the guide it should be green OK
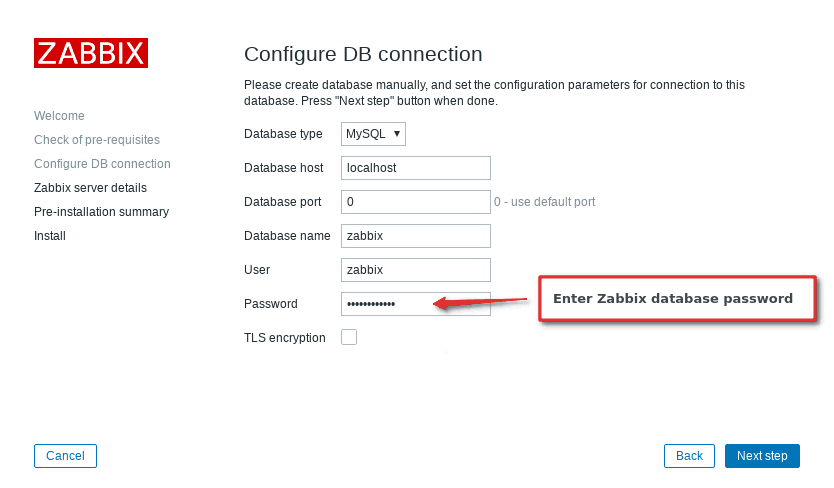
Enter your ** top secret ** Zabbix user password, that we created earlier
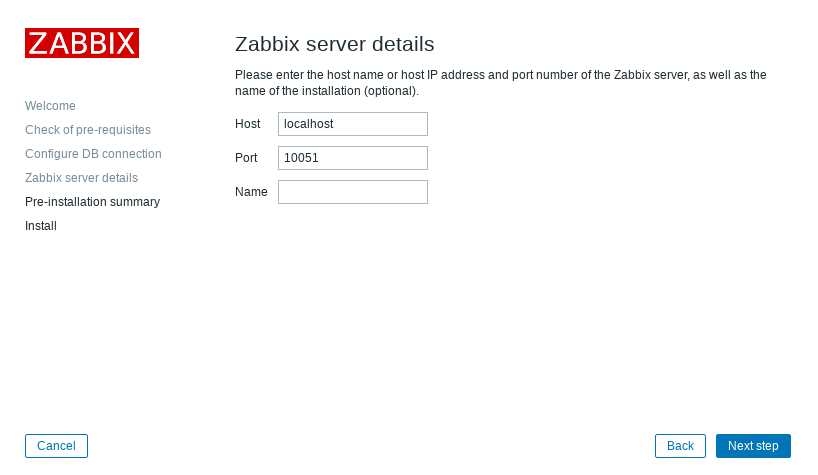
Specify your server name
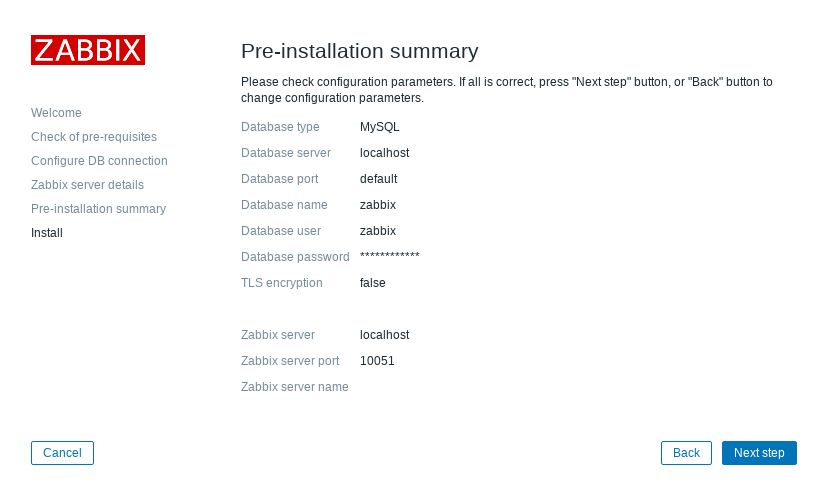
This is just an overview of the configuration that you have performed at the moment
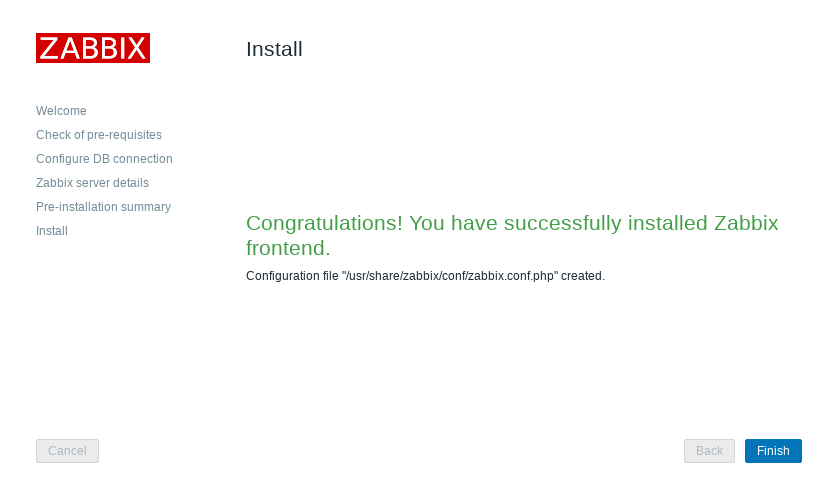
Congratulations, you have installed Zabbix now you can click finish and log in using these credentials
User: Admin
Password: zabbix